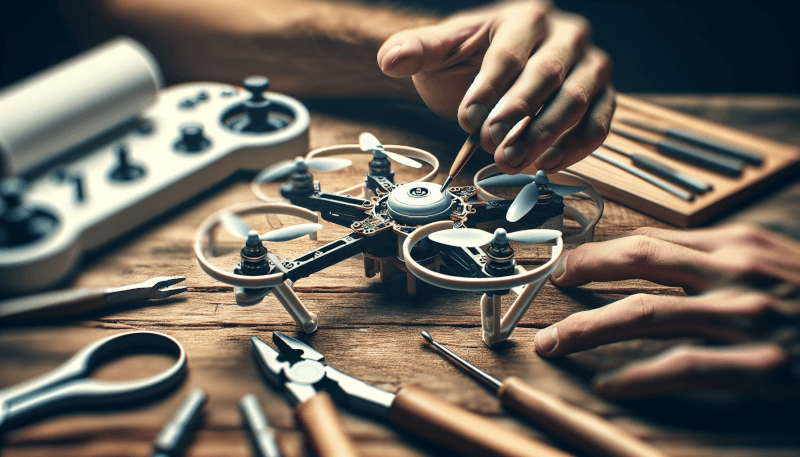
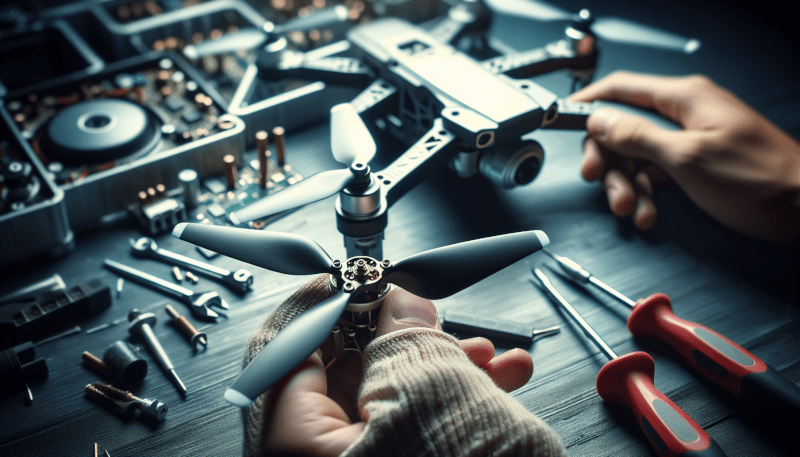
In this article, you will discover the essential skills and tips needed to perform basic repairs on your drone. Whether you’re a beginner or an experienced pilot, knowing how to fix common issues can save you time and money. From troubleshooting problems with the propellers to replacing damaged parts, we’ll guide you through the step-by-step process. By learning these basic drone repair techniques, you’ll be able to keep your drone in top shape and get back to flying in no time. So, let’s get started on mastering the art of drone repairs!

Inspecting the Drone
When it comes to maintaining and repairing your drone, the first step is always to thoroughly inspect the aircraft for any signs of damage. This will help you identify any issues and assess the overall condition of your drone. In this section, we will guide you through the different areas to inspect.
Checking for Physical Damage
Begin the inspection by visually examining the drone’s body for any obvious physical damage, such as cracks, dents, or scratches. Pay close attention to the main body and the arms as these are crucial components that can impact the drone’s stability and flight performance. If you notice any damage, it is essential to address it before attempting any repairs.
Examining the Propellers
The next step is to carefully inspect the propellers. Look for any signs of wear and tear, such as chips or deformation in the blades. Damaged propellers can affect the drone’s stability and cause it to vibrate or fly erratically. If you notice any damage, it is advisable to replace the propellers to ensure safe and smooth flights.
Inspecting the Arms and Frame
Inspect the drone’s arms and frame for any structural damage. Any cracks or fractures in these components can compromise the drone’s integrity and stability during flight. Take your time to closely examine these areas, especially where the arms connect to the main body. If you discover any damage, it is crucial to repair or replace the affected parts promptly.
Checking the Battery Compartment
Lastly, don’t forget to inspect the battery compartment. Look for any signs of corrosion, loose connections, or damage to the battery itself. A faulty battery can lead to short flight times or sudden power loss, putting your drone at risk. If you notice any issues, it may be necessary to replace the battery with a new one that is in optimal condition.
Replacing Propellers
Damaged propellers are one of the most common issues drone owners encounter. Fortunately, replacing propellers is a relatively simple process that can be done at home with a few tools. Here’s how to do it:
Identifying the Damaged Propellers
Start by identifying which propellers are damaged. Usually, it is easy to spot signs of wear or damage, such as cracks, chips, or bent blades. If you are unsure, you can compare the suspect propellers with the undamaged ones to determine the extent of the damage.
Removing the Damaged Propellers
To remove the damaged propellers, locate the small screw that attaches each propeller to the motor shaft. Using the appropriate-sized screwdriver, carefully unscrew and remove the damaged propellers one by one. Make sure to keep the screws in a safe place to avoid losing them.
Attaching New Propellers
Once the damaged propellers are removed, it’s time to attach the new ones. Line up the holes on the propeller with the motor shaft and insert the screws. Firmly tighten the screws, but be careful not to overtighten as it may damage the threads or the propeller. Repeat this process for each propeller and ensure they are securely fastened.
Repairing Motor Issues
If you notice any motor-related problems with your drone, addressing them promptly is crucial to maintain proper functionality. Here’s how to repair motor issues:
Identifying Motor Problems
Start by identifying which motor is causing the issue. Listen for any abnormal sounds, such as grinding or buzzing, and pay attention to any unusual vibrations. If the drone is not responsive or has difficulty maintaining altitude, it may also indicate a motor problem.
Replacing Faulty Motors
To replace a faulty motor, start by removing the propeller connected to the problematic motor. Next, locate the screws that secure the motor to the frame and carefully unscrew them. Once the screws are removed, disconnect the motor wires from the drone. Take note of the wire connections to ensure correct reassembly later. Finally, replace the faulty motor with a new one and secure it in place using the screws.
Calibrating the New Motor
After replacing the motor, it is crucial to calibrate it before flying the drone. Consult your drone’s user manual for specific instructions on motor calibration, as it may vary depending on the model. This step ensures that the motor operates correctly and the drone maintains stability during flight.
Fixing Connection Problems
Connection problems can arise due to loose or broken wires within the drone’s internal components. To troubleshoot and fix these issues, follow the steps below:
Checking for Loose Connections
First, visually inspect the wiring and connections inside the drone. Ensure that all the wires are securely connected and properly routed. Look for any loose connectors or obvious signs of detachment. Vibrations during flight can inadvertently cause connections to become loose, leading to connection problems.
Reconnecting Loose Wires
If you identify any loose wires, delicately reconnect them to their corresponding connectors. Ensure a snug fit to guarantee a solid connection. Take extra care to connect the wires correctly and avoid crossing or misaligning them, as this can lead to further issues.
Soldering Broken Connections
In some cases, you may encounter broken wires or damaged connectors that cannot be easily reconnected. In such instances, it may be necessary to solder the broken connections. To do this, you will need a soldering iron, solder, and a steady hand. Apply a small amount of solder to reconnect the broken wire ends, creating a strong bond. Make sure to follow proper soldering techniques and avoid overheating any components.

Replacing the Drone’s Battery
Over time, drone batteries can degrade and lose their ability to hold a charge effectively. When this happens, it may be necessary to replace the battery. Here’s how to do it:
Identifying Battery Issues
Before replacing the battery, make sure that the issue lies with the battery itself and not with the charger or other components. Test the battery with a reliable multimeter to measure its voltage. If the voltage falls below the manufacturer’s recommended range or the battery fails the test, it indicates a faulty battery that needs replacement.
Removing the Old Battery
To remove the old battery, start by turning off the drone and disconnecting it from any power sources. Next, locate the battery compartment and carefully detach the connectors or release the locking mechanism, depending on your drone model. Gently slide the old battery out of the compartment, taking care not to damage any wires or components.
Installing a New Battery
Once the old battery is removed, insert the new battery into the compartment, ensuring it is correctly aligned with the connectors. Attach the connectors securely or engage the locking mechanism, depending on your drone’s design. Double-check that the battery is snugly fitted and securely in place before turning on the drone to avoid any mishaps during flight.
Repairing the Camera
If your drone is equipped with a camera and you encounter camera-related issues, such as blurry images or malfunctioning video recording, it’s time to address the problem. Here’s how to repair the camera:
Identifying Camera Problems
Start by diagnosing the specific issue with the camera. Check for any physical damage to the camera lens or the camera module itself. If the camera fails to function altogether, it may indicate an internal wiring issue or a malfunctioning camera module.
Cleaning the Lens
If the camera lens appears dirty or smudged, it may affect the image quality. Gently remove any dust or debris from the lens using a microfiber cloth or a lens cleaning solution. Be cautious not to scratch the lens or use excessive force while cleaning.
Replacing the Camera Module
If cleaning doesn’t resolve the camera issue, it may be necessary to replace the camera module. Consult your drone’s user manual or manufacturer’s website to find the compatible camera module for your specific drone model. Once you have the replacement camera module, follow the manufacturer’s instructions to install it correctly.

Dealing with GPS Issues
GPS-related problems can significantly impact a drone’s flight performance and its ability to navigate accurately. Here’s how to address GPS issues:
Checking the GPS Antenna
Begin by inspecting the drone’s GPS antenna for any physical damage or loose connections. The GPS antenna is typically located on the drone’s body, and it may be housed in a protective casing. Ensure that the antenna is securely attached and that there are no signs of wear, cracks, or breakage.
Replacing Faulty Antenna
If you identify any issues with the GPS antenna, it may be necessary to replace it. Consult your drone’s user manual or contact the manufacturer to obtain a compatible replacement antenna. Follow the instructions provided to detach the old antenna and install the new one correctly. Ensure all connections are secure before attempting to use the GPS functionality.
Updating GPS Firmware
In some cases, GPS issues can be resolved by updating the drone’s GPS firmware. Check the manufacturer’s website or the drone’s user manual for the latest firmware updates. Follow the instructions provided to update the firmware correctly. Firmware updates often address bugs and enhance the GPS performance, ensuring accurate positioning and navigation during flights.
Fixing Controller Problems
If you experience problems with your drone’s controller, such as unresponsive buttons or joystick drift, it’s essential to address these issues before attempting any flights. Here’s how to fix controller problems:
Identifying Issues with the Controller
Start by identifying the specific issues with the controller. Test all the buttons, switches, and joysticks to ensure they respond correctly. Pay attention to any irregular behavior or unresponsiveness. If you notice any problems, it may indicate a faulty component that requires replacement or calibration.
Replacing Faulty Controller Components
If you determine that specific components in the controller are faulty, such as a malfunctioning joystick or a non-responsive button, it may be necessary to replace them. Contact the manufacturer or a reputable drone repair service to source the compatible replacement components. Follow the provided instructions to remove the faulty components and install the new ones correctly.
Calibrating the New Controller
After replacing any faulty controller components, it is vital to calibrate the controller. The calibration process may vary depending on the controller type and manufacturer. Refer to the controller’s user manual for specific calibration instructions. Proper calibration ensures accurate control inputs and a seamless piloting experience.

Repairing Landing Gear
The landing gear is a crucial component that protects your drone’s body and camera during takeoff and landing. If you notice any damage to the landing gear, it’s important to repair or replace it to maintain safe landings. Here’s how to repair landing gear:
Inspecting Landing Gear for Damage
Start by inspecting all parts of the landing gear for any signs of damage, such as cracks in the legs or bends in the support struts. Ensure that all screws and connections are secure and intact. It’s important to thoroughly check the landing gear as any damage can compromise the drone’s stability and cause potential harm.
Replacing Broken Landing Gear
If you find any significant damage to the landing gear, it may be necessary to replace it. Contact the drone manufacturer or a reliable supplier to obtain the compatible landing gear for your specific drone model. Follow the manufacturer’s instructions or guidelines to remove the broken landing gear and install the new one correctly. Double-check that all connections and screws are secure before using the drone.
Aligning and Testing the New Landing Gear
Once the new landing gear is installed, ensure that it is correctly aligned and level with the drone’s body. Check for any inconsistencies or wobbling that could affect the drone’s stability during landings. Before flying, conduct a test flight and observe the drone’s behavior during takeoff and landing to ensure that the new landing gear functions correctly.
Dealing with Flyaway Drones
Experiencing a flyaway can be a distressing situation for any drone owner. However, understanding the potential causes and having emergency procedures in place can help you regain control of your drone. Here’s how to deal with flyaway drones:
Understanding Flyaway Causes
Flyaways can occur due to various reasons, such as strong electromagnetic interference, GPS signal loss, or software glitches. It is essential to familiarize yourself with these potential causes to identify the most likely reason for your specific flyaway situation.
Emergency Procedures to Bring Back the Drone
If your drone starts to fly away unexpectedly, there are a few emergency procedures you can try to bring it back. Firstly, attempt to regain control by using the controller’s Return to Home (RTH) function if available. Alternatively, try reducing throttle input and bringing the drone back manually. It’s important to stay calm and avoid sudden or erratic maneuvers to prevent further complications.
Preventing Flyaways in the Future
To minimize the risk of flyaways in the future, follow these preventive measures. Always ensure that your drone’s GPS signal is strong and stable before takeoff. Avoid flying in areas with high electromagnetic interference, such as near power lines or radio towers. Keep your drone’s firmware and GPS software up to date to benefit from bug fixes and improvements. Finally, regularly inspect and maintain your drone to identify any potential issues that could lead to flyaways.


