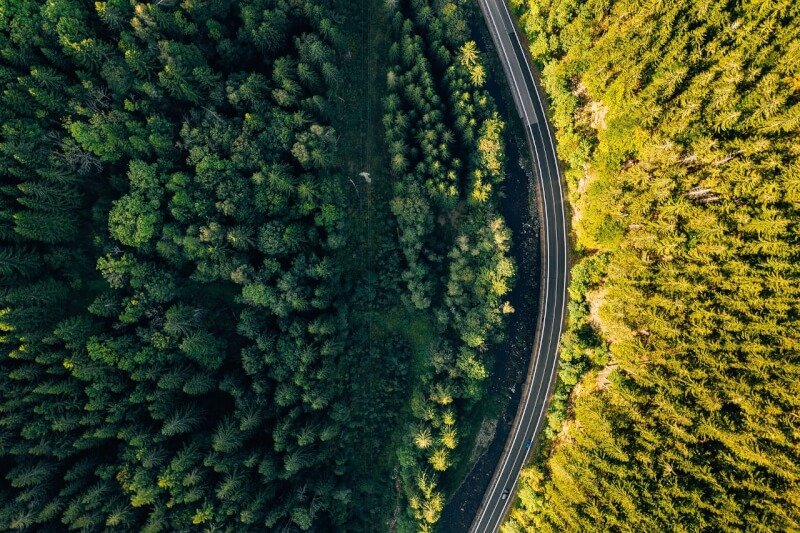
Imagine soaring through the sky, capturing breathtaking views of the world below with your drone. Now, imagine transforming those ordinary aerial shots into extraordinary panoramic masterpieces. In this article, you will learn the simple yet effective techniques to create amazing aerial panoramas using your drone. From choosing the right equipment to understanding the key principles of composition, get ready to unlock new horizons in your photography and take your drone shots to new heights.
Choosing the Right Equipment for Aerial Panoramas
Selecting the Right Drone
When it comes to aerial photography, choosing the right drone is crucial. You’ll want to look for a drone that has good stability and a high-quality camera. Stability is particularly important for capturing panoramic shots, as any movement or vibration can lead to blurry images. Additionally, consider the drone’s flight time and range, as well as its compatibility with third-party accessories such as filters or lenses.
Choosing the Right Camera
To capture stunning aerial panoramas, you’ll need a camera with good image quality and a high resolution. Look for a camera that can capture RAW files, as these provide greater flexibility for post-processing. It’s also important to consider the dynamic range and low-light performance of the camera, as these factors can greatly impact the final image quality. Finally, pay attention to the camera’s weight and compatibility with your chosen drone.
Selecting the Right Lens
The lens you use will determine the field of view and depth of field in your aerial panoramas. Wide-angle lenses are commonly used for panoramic shots as they can capture a larger portion of the scene. However, be cautious about distortion and vignetting, as these can be more prominent with wide-angle lenses. Additionally, consider using lenses with a low aperture value to achieve a shallow depth of field and create unique focal points within your panoramas.
Understanding the Basics of Aerial Panoramas
Knowing the Different Types of Panoramas
Before taking to the skies, it’s essential to understand the different types of panoramas you can capture. The most common types include cylindrical, spherical, and flat panos. Cylindrical panos capture a 360-degree horizontal view but have limitations in the vertical range. Spherical panos capture a complete 360-degree view in both the horizontal and vertical directions, providing a more immersive experience. Flat panos capture a wide-angle view but lack the full spherical effect. Each type has its own unique characteristics, so consider your desired outcome before deciding which type to capture.
Understanding the Importance of Lighting
Lighting plays a significant role in the success of aerial panoramas. Ideally, you’ll want to shoot during the golden hour, which is the hour after sunrise or before sunset. During this time, the light is softer, warmer, and casts long shadows, adding depth and dimension to your panoramas. Avoid shooting during midday when the harsh sunlight can wash out colors and create unflattering shadows. Additionally, pay attention to the direction of light and how it falls on your subject, as it can create dramatic effects and enhance the overall mood of your panoramas.
Understanding Composition and Framing
Composition is key to creating visually appealing aerial panoramas. Consider the rule of thirds when framing your shots, placing points of interest or horizon lines along the intersecting lines or at the intersections themselves. This technique adds balance and visual interest to your panoramas. Additionally, look for leading lines or natural curves that can guide the viewer’s eye through the image. Experiment with different angles and perspectives to create unique compositions and avoid creating monotonous or repetitive images. Remember, you have the advantage of shooting from above, so utilize the aerial perspective to your advantage.
Preparing for Aerial Panoramas
Checking Weather Conditions
Weather conditions can greatly impact the outcome of your aerial panoramas. Before heading out to capture your shots, check the weather forecast to ensure favorable conditions. Clear skies, mild winds, and good visibility are ideal for capturing sharp and detailed images. Keep in mind that certain weather conditions can pose risks to both your drone and yourself, such as strong winds or heavy rain. Always prioritize safety and avoid flying in unfavorable weather conditions.
Finding the Right Location
Choosing the right location is crucial for capturing stunning aerial panoramas. Look for places that offer interesting and diverse landscapes, such as mountains, coastlines, or urban cityscapes. Consider the potential for unique perspectives or points of interest within your chosen location. Research and scout potential shooting spots in advance to maximize your time on location. Utilize online maps, aerial imagery, or even local knowledge to identify areas that will provide captivating aerial panoramas.
Obtaining Necessary Permissions and Regulations
Before taking flight, make sure you are aware of and adhere to all local regulations regarding drone use. Some locations may have specific restrictions or permit requirements for flying drones. Familiarize yourself with any legal requirements and obtain any necessary permissions or permits before capturing aerial panoramas. Engage with local authorities or landowners if needed, ensuring that you are in compliance with all applicable laws and regulations.
Setting Up Your Drone for Aerial Panoramas
Calibrating the Compass
Calibrating the compass on your drone is essential for accurate flight and image positioning. This calibration process ensures that the drone’s navigation system receives correct data, allowing for precise control and positioning. Follow your drone’s manufacturer instructions to calibrate the compass before each flight. It is important to note that the calibration process may vary between drone models, so consult your drone’s user manual for specific instructions.
Checking Drone Battery and Flight Time
Before embarking on an aerial panorama mission, check the battery level of your drone and estimate the flight time required for capturing the desired shots. Ensure that your drone’s battery has enough charge to complete the planned flight path and return safely to the take-off location. It is always recommended to have spare batteries on hand to prolong your flight time and ensure uninterrupted capture sessions. Additionally, keep in mind that flying in colder temperatures or high winds can reduce battery life, so plan accordingly.
Adjusting Camera Settings
Take the time to adjust the camera settings on your drone for optimal image quality. In most drones, you have the option to shoot in either JPEG or RAW format. Shooting in RAW allows for greater flexibility in post-processing, as it preserves more image data. Adjust the ISO, shutter speed, and aperture settings based on the lighting conditions and desired visual effects. For example, in low-light situations, you may need to increase the ISO or decrease the shutter speed to avoid underexposure. Familiarize yourself with your drone’s camera settings and experiment to find the optimal settings for your aerial panoramas.
Capturing Perfect Shots for Aerial Panoramas
Planning Your Flight Path
Effective flight planning is critical to capturing seamless and high-quality aerial panoramas. Take time to plan out your flight path in advance, considering the desired composition and overall scene. Utilize mapping applications or aerial imagery to get a sense of the terrain and plan your flight accordingly. Determine the altitude, speed, and overlap settings for your drone to ensure proper image coverage. Consider using waypoints or flight planning apps to automate the flight path and ensure consistent results. Be mindful of any obstacles or restricted areas that may affect your planned flight path.
Using Automated Flight Modes
Many drones offer automated flight modes that can assist in capturing panoramic shots. These modes can help simplify the process and ensure smooth and accurate image alignment. Some common automated flight modes include panorama mode, where the drone automatically captures a series of images while rotating, and orbit mode, where the drone flies in a circular pattern around a subject. Explore the capabilities of your drone and experiment with different automated flight modes to achieve stunning and creative aerial panoramas.
Utilizing Manual Flight Controls
While automated flight modes can be beneficial, manual flight control gives you more creative freedom and control over your aerial panoramas. Take advantage of the drone’s manual flight capabilities to adjust the framing, composition, and position during the flight. This allows you to react to the changing landscape or composition as you capture your shots. Practice flying in manual mode to become familiar with the controls and develop the necessary skills for capturing precise and dynamic aerial panoramas.
Stitching and Post-Processing Aerial Panoramas
Choosing the Right Software
To create a seamless and well-stitched aerial panorama, you’ll need reliable stitching software. There are numerous software options available, each with its own set of features and capabilities. Some popular choices include Adobe Photoshop, PTGui, and AutoPano Giga. Research and test different software to find the one that best suits your workflow and delivers the desired results. Look for software that can handle the size and number of images you intend to stitch and offers advanced features like perspective correction and blending options.
Importing and Stitching the Images
Once you have your software of choice, import the captured images into the program. Ensure that the images are well-organized and labeled to facilitate the stitching process. Follow the software’s instructions to stitch the images together, allowing the program to align and blend them into a panoramic image. Take care to check for any stitching errors or misalignments and make necessary adjustments. Depending on the software, you may have control over the blending and distortion correction settings, allowing you to fine-tune the final output.
Modifying Panorama Settings
After stitching, you can further enhance your aerial panoramas through post-processing. Adjust the exposure, contrast, and color balance to achieve the desired look and feel. Experiment with different settings to enhance the depth, contrast, and overall visual impact of your panoramas. Take advantage of tools like graduated filters or adjustment brushes to selectively modify specific areas within the panorama. Don’t be afraid to experiment and create different versions with various settings to find the one that best conveys your artistic vision.
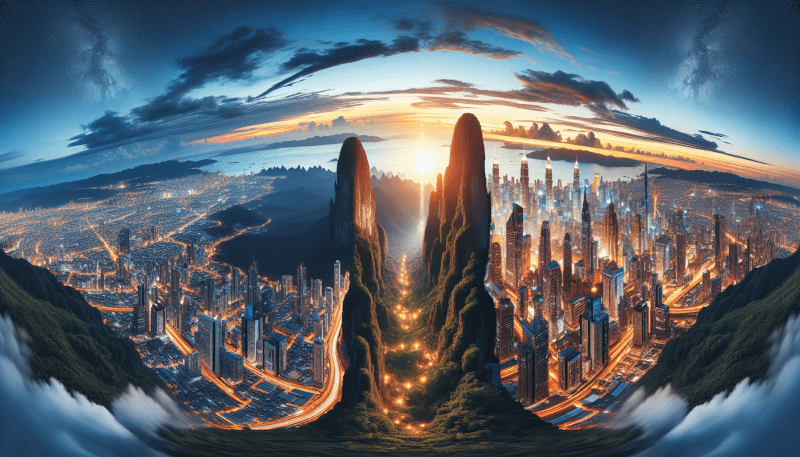
Enhancing Your Aerial Panoramas
Adjusting Exposure and Color Balance
In post-processing, refining the exposure and color balance of your aerial panoramas can greatly enhance their visual impact. Pay attention to the histogram and adjust the exposure to ensure optimal tonal range without losing details in the highlights or shadows. Fine-tune the color temperature and color balance to create a harmonious and realistic representation of the scene. Consider using color grading techniques to evoke specific moods or create a unique visual style. Take the time to experiment and find the right balance of exposure and color to bring out the best in your aerial panoramas.
Removing Glitches and Imperfections
During the stitching process, some glitches or imperfections may arise, such as ghosting, misalignments, or visible seams. These can detract from the overall quality of your aerial panoramas. Take the time to carefully inspect the stitched image and make necessary adjustments. Use the cloning or healing brush tool to remove any visible seams or unwanted elements. Apply content-aware fill or clone stamping techniques to fill in any areas with missing or distorted details. Pay attention to the finer details and ensure a seamless and natural-looking final image.
Applying Filters and Effects
To add a creative touch to your aerial panoramas, consider applying filters or effects in post-processing. Filters can help enhance specific elements within the image, such as increasing the saturation of the sky or adding a moody vignette. Experiment with different filters or presets to find the ones that enhance the mood or emphasize the key elements in your panoramas. However, exercise caution to ensure that the filters or effects do not overpower the image or create an unrealistic representation of the scene. Use them sparingly and with intent to enhance, rather than distract from, the overall composition.
Sharing and Displaying Aerial Panoramas
Choosing the Right Platform
Once you’ve created stunning aerial panoramas, it’s time to showcase your work. Consider the platforms or mediums through which you want to display your panoramas. Popular options include social media platforms, online galleries, or even printing your panoramas for physical display. Each platform has its own specifications and requirements, so ensure that your panoramas are properly sized and formatted for optimal viewing. Pay attention to the platform’s image compression and resolution settings to maintain the integrity and visual quality of your aerial panoramas.
Optimizing File Size and Resolution
When sharing or displaying your aerial panoramas, it’s crucial to optimize the file size and resolution. High-resolution images can be impressive, but they may also be challenging to load, especially on mobile devices or slower internet connections. Balance the image resolution with the file size to achieve a good compromise. Consider using image compression techniques or resizing the images to an appropriate resolution for the intended platform. Test the loading speed and quality of your panoramas on different devices to ensure a smooth and enjoyable viewing experience for your audience.
Adding Interactive Elements
To engage your audience and provide an immersive viewing experience, consider adding interactive elements to your aerial panoramas. This can include features like zoom functionality, hotspots for additional information, or even virtual reality compatibility. These interactive elements can enhance the storytelling aspect of your panoramas and allow viewers to explore the scene in more depth. Utilize specialized software or plugins to incorporate these interactive elements and make your aerial panoramas more captivating and memorable.
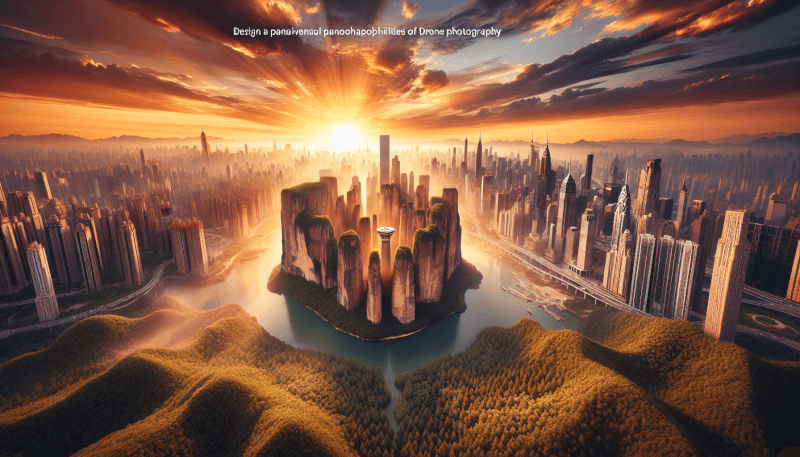
Tips for Capturing Stunning Aerial Panoramas
Experiment with Different Perspectives
One of the advantages of aerial panoramas is the ability to capture unique perspectives. Don’t be afraid to experiment and explore different angles, altitudes, or camera orientations to create intriguing compositions. Fly higher to showcase the expansive landscapes, or fly lower to reveal finer details. Tilt the camera or change the orientation to create dynamic diagonals or symmetrical patterns. By pushing the boundaries and trying new perspectives, you can capture aerial panoramas that stand out and captivate your audience.
Utilize ND Filters for Long Exposures
ND (neutral density) filters are essential tools for capturing long exposures in aerial panoramas. These filters reduce the amount of light entering the camera, allowing for longer exposure times without overexposing the image. Long exposures can create smooth, dreamy effects in water or capture the movement of clouds, adding a sense of motion and fluidity to your panoramas. Experiment with different ND filter strengths to achieve the desired results and unleash your creativity in capturing stunning long exposure aerial panoramas.
Capture Panoramas during Golden Hour
The golden hour, which occurs during the hour after sunrise or before sunset, is a magical time for capturing aerial panoramas. The soft, warm light during this time adds a beautiful glow and enhances the colors, textures, and shadows in your panoramas. The longer shadows can also add depth and dimension to your shots, creating a more immersive viewing experience. Plan your flights and shooting sessions around the golden hour to take full advantage of this magical lighting and elevate the quality of your aerial panoramas.
Avoiding Common Mistakes in Aerial Panoramas
Beware of Overexposure and Underexposure
One common mistake in aerial panoramas is overexposure or underexposure. The wide dynamic range of aerial scenes can challenge the camera’s ability to capture the full tonal range. Pay attention to the histogram and ensure that your exposure settings are well-balanced. Dial in the correct exposure compensation if needed to avoid blown-out highlights or loss of detail in the shadows. Take test shots and review the histogram frequently during your aerial photography sessions to avoid common exposure mistakes.
Avoid Uneven Overlaps in Images
Proper overlap between images is crucial for seamless stitching in aerial panoramas. Uneven overlaps can lead to distortion, misalignments, or visible seams in the final panorama. Ensure consistent overlap between consecutive images by using dynamic flight planning tools or manually adjusting your flight path. Be mindful of any changes in speed or altitude that can affect the overlap. It’s better to have slightly more overlap than necessary, as you can crop the final panorama to your desired composition during post-processing. Pay attention to the evenness of overlaps to ensure a smoothly stitched aerial panorama.
Watch Out for Moving Objects in the Frame
When capturing aerial panoramas, it’s important to be aware of any moving objects in the frame. Moving objects can introduce motion blur or ghosting effects, making the final panorama appear blurry or distorted. Keep an eye on the scene and adjust your flight path or timing to avoid capturing moving objects. Additionally, be cautious of any moving elements within the drone’s field of view, such as propellers or the drone’s shadow, as they can also affect the overall quality of the shot. Take the time to assess the scene and make necessary adjustments to minimize the presence of moving objects in your aerial panoramas.
By following these guidelines and considering the various aspects of aerial panoramas, you’ll be well-equipped to create amazing, awe-inspiring aerial panoramas with your drone. Remember to choose the right equipment, understand the basics, prepare adequately, and capture and post-process your shots with care. With practice and creativity, you’ll be able to capture stunning aerial panoramas that showcase the beauty of the world from a unique and captivating perspective. So, go ahead, take flight, and embark on an exciting journey of aerial photography and panoramic storytelling.

